Gemini CLI 教學:善用 AI 提升你的終端機開發效率

Gemini CLI 教學:將 Gemini 的強大 AI 能力帶入你的終端機
Google 發最新的 AI 開發工具 Gemini CLI,可以對標 Anthropic 的 Claude Code 和 OpenAI 的 Codex CLI等 AI 開發工具,也讓使得 AI開發工具的竸爭進入白熱化。
Gemini CLI 是什麼?
Gemini CLI 是一個開源的 AI 代理(AI Agent),它將 Google 的 Gemini 模型(特別是 Gemini 2.5 Pro)的能力直接整合到你的終端機環境中。這意味著你可以在不離開終端機的情況下,利用 AI 來協助你完成各種開發工作。
主要特色與優勢:
- 無縫整合 Gemini 模型: 直接在終端機中使用 Gemini 2.5 Pro 的強大功能,包括其高達 100 萬詞元的長脈絡(context window)。
- 開源且高度擴充: 採用 Apache 2.0 授權,原始碼公開透明,並支援 Model Context Protocol (MCP) 等擴充功能,讓你可以自訂和擴展其能力。
- 多功能性: 不僅限於程式碼生成,還能協助檔案操作、指令執行、動態故障排除、內容生成、問題解決、深入研究和任務管理。
- 個人開發者免費額度: 使用個人 Google 帳戶即可免費使用 Gemini CLI,提供業界領先的免費使用額度(每分鐘 60 次,每日最多 1,000 次模型執行)。
- AI-First Coding 概念: 鼓勵開發者以 AI 為優先,將 AI 視為協作夥伴,透過清晰的提示詞引導 AI 完成任務,並審核其產出。
- 與 Gemini Code Assist 整合: 與 Google 的 AI 程式碼編寫輔助工具 Gemini Code Assist 採用相同核心技術,提供更一致的 AI 開發體驗。
開始使用 Gemini CLI
安裝步驟:
- 安裝 Node.js: 確保你的系統已安裝 Node.js 版本
18或以上,建議使用版本20。 - 安裝 Gemini CLI: 在終端機中執行以下指令進行全域安裝:
npm install -g @google/gemini-cli - 初步設定: 執行
gemini指令,依照提示完成初步設定,例如選擇你偏好的 Theme 和進行身份驗證(通常是登入你的 Google 帳戶)。
快速入門:
讓我們透過一個簡單的範例來體驗 Gemini CLI 的強大之處。假設我們想生成一個計算費式數列的 Python 程式碼,並將其儲存並執行。
Prompt:
使用html5開發一個飛機射擊遊戲,需有計分系統,每擊敗普通怪物得5分,擊敗Boss級怪物得100分,專案目錄:`~/www/Aircraft-shooting`
在執行過程中,Gemini CLI 會使用詢問互動方式,來協助使用者完成專案
建立檔案產與寫入檔案時,Gemini CLI 會讓使用者確認
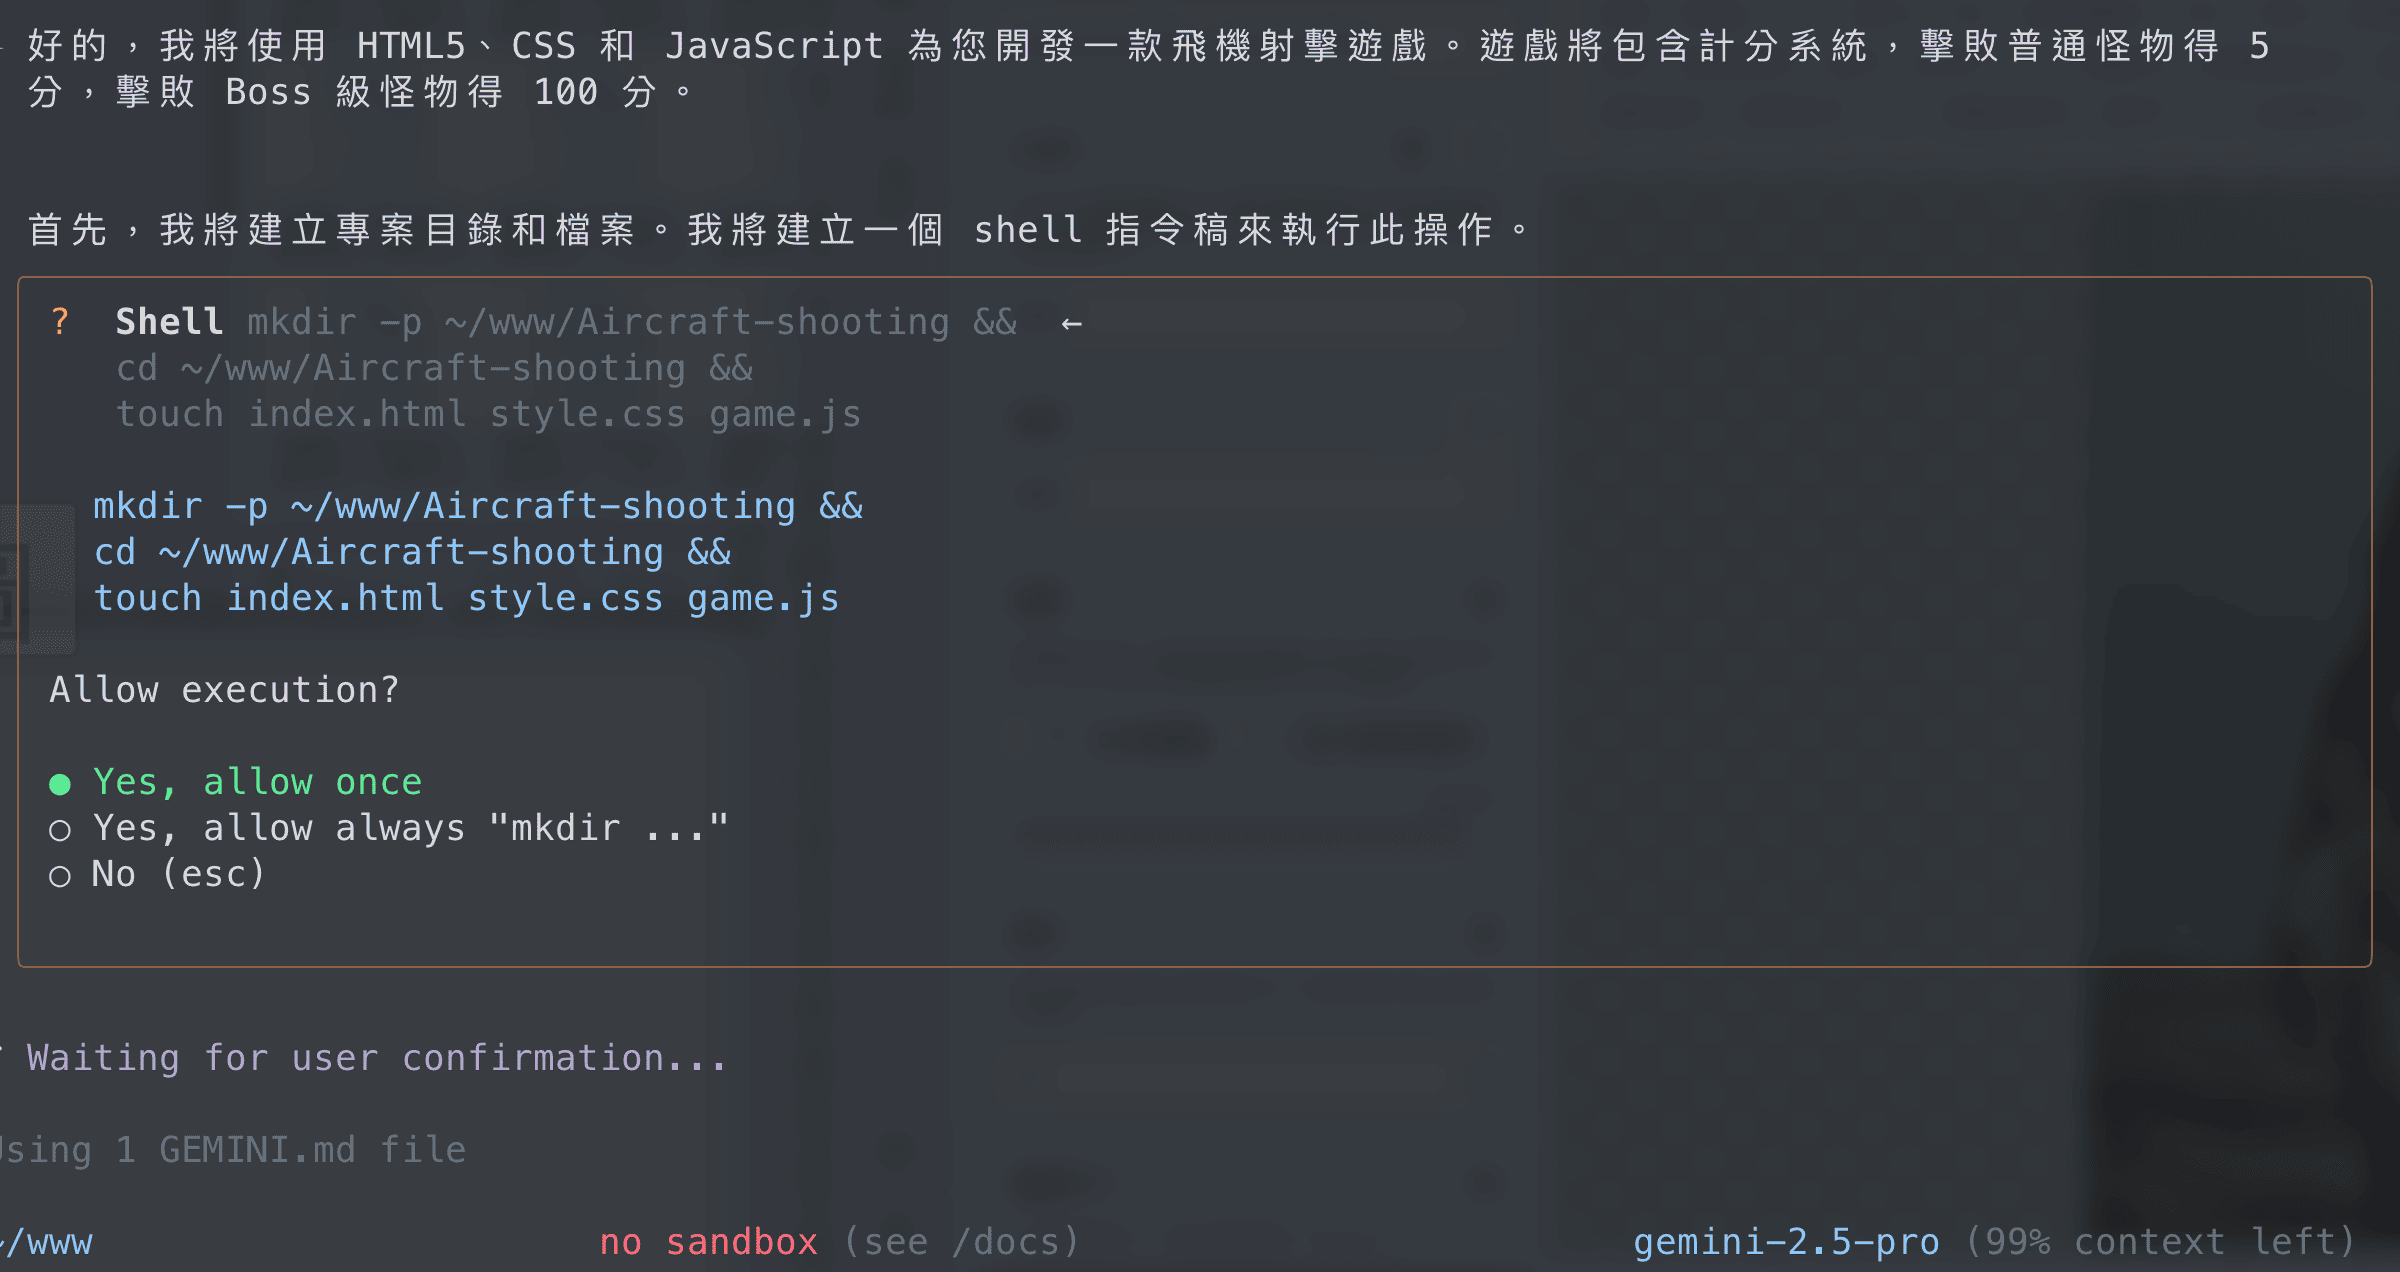
確認後 Gemini CLI 會開始建立相關程式,以此為例,Gemini CLI 建了以下程式
1 index.html
<!DOCTYPE html>
<html lang="en">
<head>
    <meta charset="UTF-8">
    <meta name="viewport" content="width=device-width, initial-scale=1.0">
    <title>Aircraft Shooting Game</title>
    <link rel="stylesheet" href="style.css">
</head>
<body>
    <h1>Aircraft Shooting Game</h1>
    <canvas id="gameCanvas" width="800" height="600"></canvas>
    <div id="score">Score: 0</div>
    <script src="game.js"></script>
</body>
</html>
- style.css
body {
    font-family: sans-serif;
    display: flex;
    flex-direction: column;
    align-items: center;
    margin: 0;
    background-color: #f0f0f0;
}

canvas {
    border: 1px solid black;
    background-color: #fff;
}

#score {
    margin-top: 10px;
    font-size: 24px;
}
- game.js
const canvas = document.getElementById('gameCanvas');
const ctx = canvas.getContext('2d');
const scoreElement = document.getElementById('score');

let score = 0;
let keys = {};

class Player {
    constructor(x, y, width, height, color) {
        this.x = x;
        this.y = y;
        this.width = width;
        this.height = height;
        this.color = color;
        this.speed = 5;
    }

    draw() {
        ctx.fillStyle = this.color;
        ctx.fillRect(this.x, this.y, this.width, this.height);
    }

    update() {
        if (keys['ArrowLeft'] && this.x > 0) {
            this.x -= this.speed;
        }
        if (keys['ArrowRight'] && this.x < canvas.width - this.width) {
            this.x += this.speed;
        }
    }
}

class Bullet {
    constructor(x, y, width, height, color, speed) {
        this.x = x;
        this.y = y;
        this.width = width;
        this.height = height;
        this.color = color;
        this.speed = speed;
    }

    draw() {
        ctx.fillStyle = this.color;
        ctx.fillRect(this.x, this.y, this.width, this.height);
    }

    update() {
        this.y -= this.speed;
    }
}

class Enemy {
    constructor(x, y, width, height, color, speed, isBoss = false) {
        this.x = x;
        this.y = y;
        this.width = width;
        this.height = height;
        this.color = color;
        this.speed = speed;
        this.isBoss = isBoss;
    }

    draw() {
        ctx.fillStyle = this.color;
        ctx.fillRect(this.x, this.y, this.width, this.height);
    }

    update() {
        this.y += this.speed;
    }
}

const player = new Player(canvas.width / 2 - 25, canvas.height - 60, 50, 50, 'blue');
const bullets = [];
const enemies = [];

function spawnEnemy() {
    const isBoss = Math.random() < 0.1; // 10% chance of being a boss
    const width = isBoss ? 100 : 30;
    const height = isBoss ? 100 : 30;
    const color = isBoss ? 'red' : 'green';
    const speed = isBoss ? 1 : 0.5;
    const x = Math.random() * (canvas.width - width);
    const y = -height;
    enemies.push(new Enemy(x, y, width, height, color, speed, isBoss));
}

function updateScore(points) {
    score += points;
    scoreElement.textContent = `Score: ${score}`;
}

function collision(a, b) {
    return a.x < b.x + b.width &&
           a.x + a.width > b.x &&
           a.y < b.y + b.height &&
           a.y + a.height > b.y;
}

function gameLoop() {
    ctx.clearRect(0, 0, canvas.width, canvas.height);

    player.update();
    player.draw();

    bullets.forEach((bullet, bulletIndex) => {
        bullet.update();
        bullet.draw();

        if (bullet.y < 0) {
            bullets.splice(bulletIndex, 1);
        }

        enemies.forEach((enemy, enemyIndex) => {
            if (collision(bullet, enemy)) {
                bullets.splice(bulletIndex, 1);
                enemies.splice(enemyIndex, 1);
                updateScore(enemy.isBoss ? 100 : 5);
            }
        });
    });

    enemies.forEach((enemy, enemyIndex) => {
        enemy.update();
        enemy.draw();

        if (enemy.y > canvas.height) {
            enemies.splice(enemyIndex, 1);
        }

        if (collision(player, enemy)) {
            alert('Game Over!');
            document.location.reload();
        }
    });

    requestAnimationFrame(gameLoop);
}

window.addEventListener('keydown', (e) => {
    keys[e.key] = true;
    if (e.key === ' ') {
        bullets.push(new Bullet(player.x + player.width / 2 - 2.5, player.y, 5, 10, 'black', 7));
    }
});

window.addEventListener('keyup', (e) => {
    keys[e.key] = false;
});

setInterval(spawnEnemy, 2000);
gameLoop();
4 遊戲玩法
遊戲建立完成,Gemnini CLI 也會提示遊戲玩法
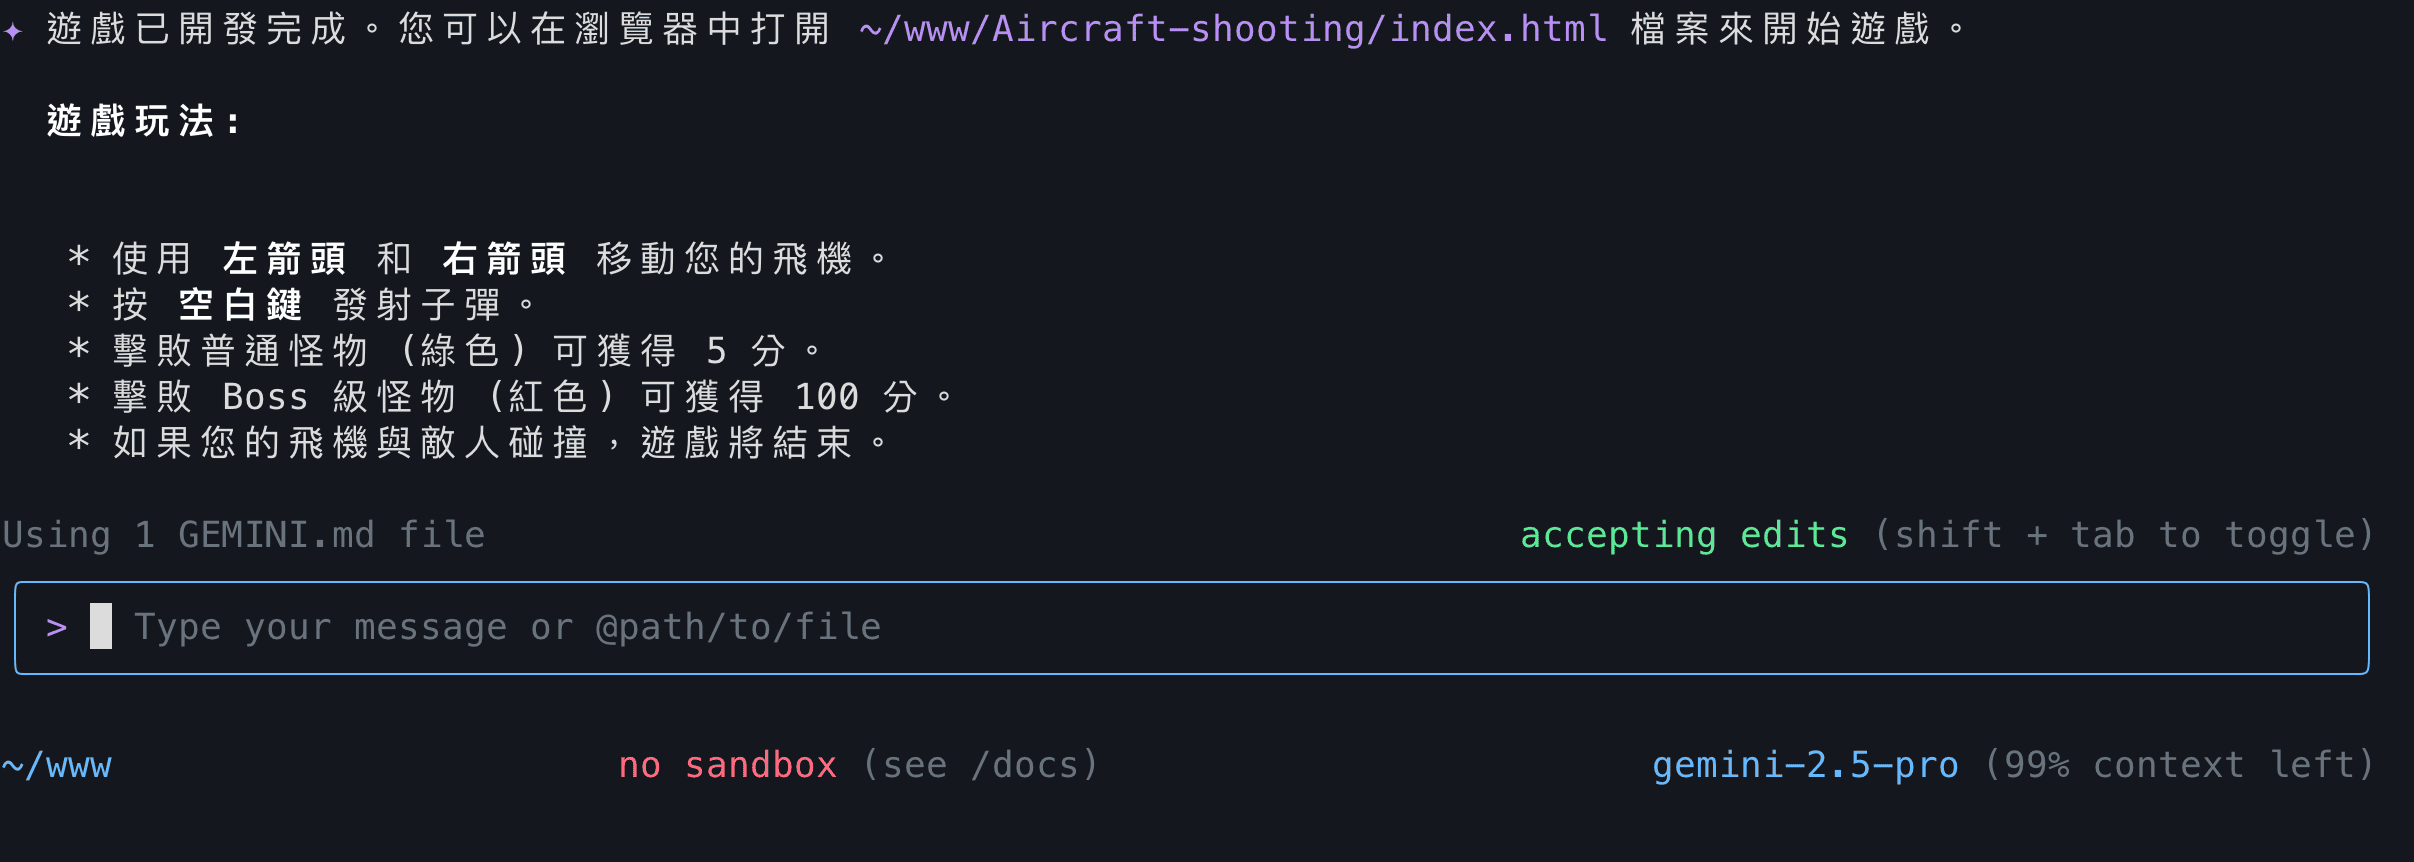
- 執行結果
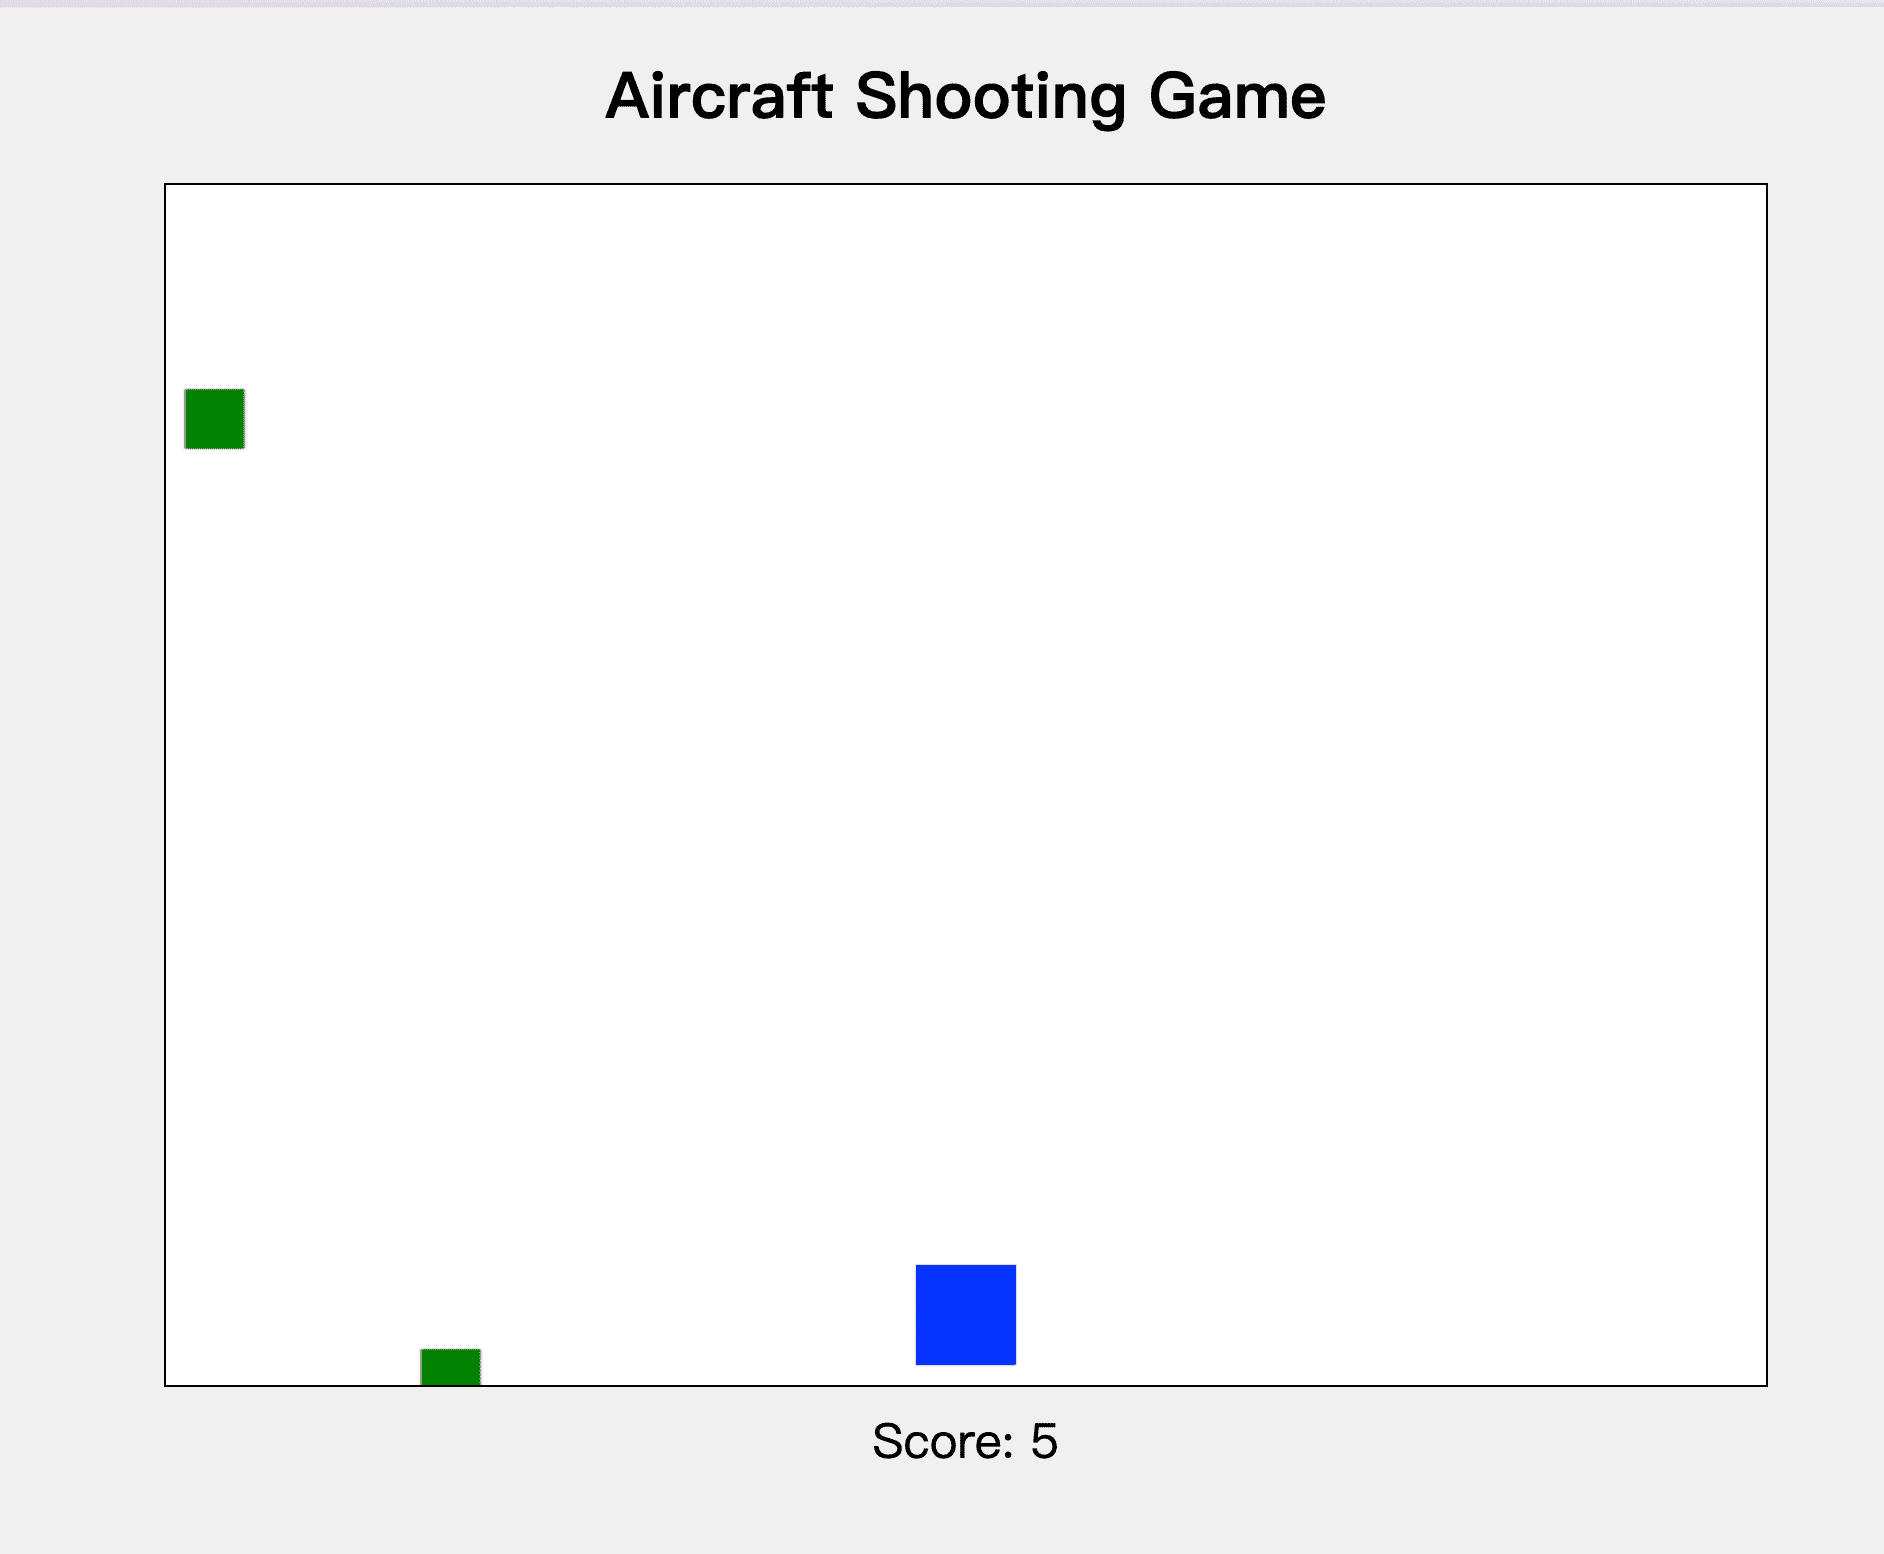
-
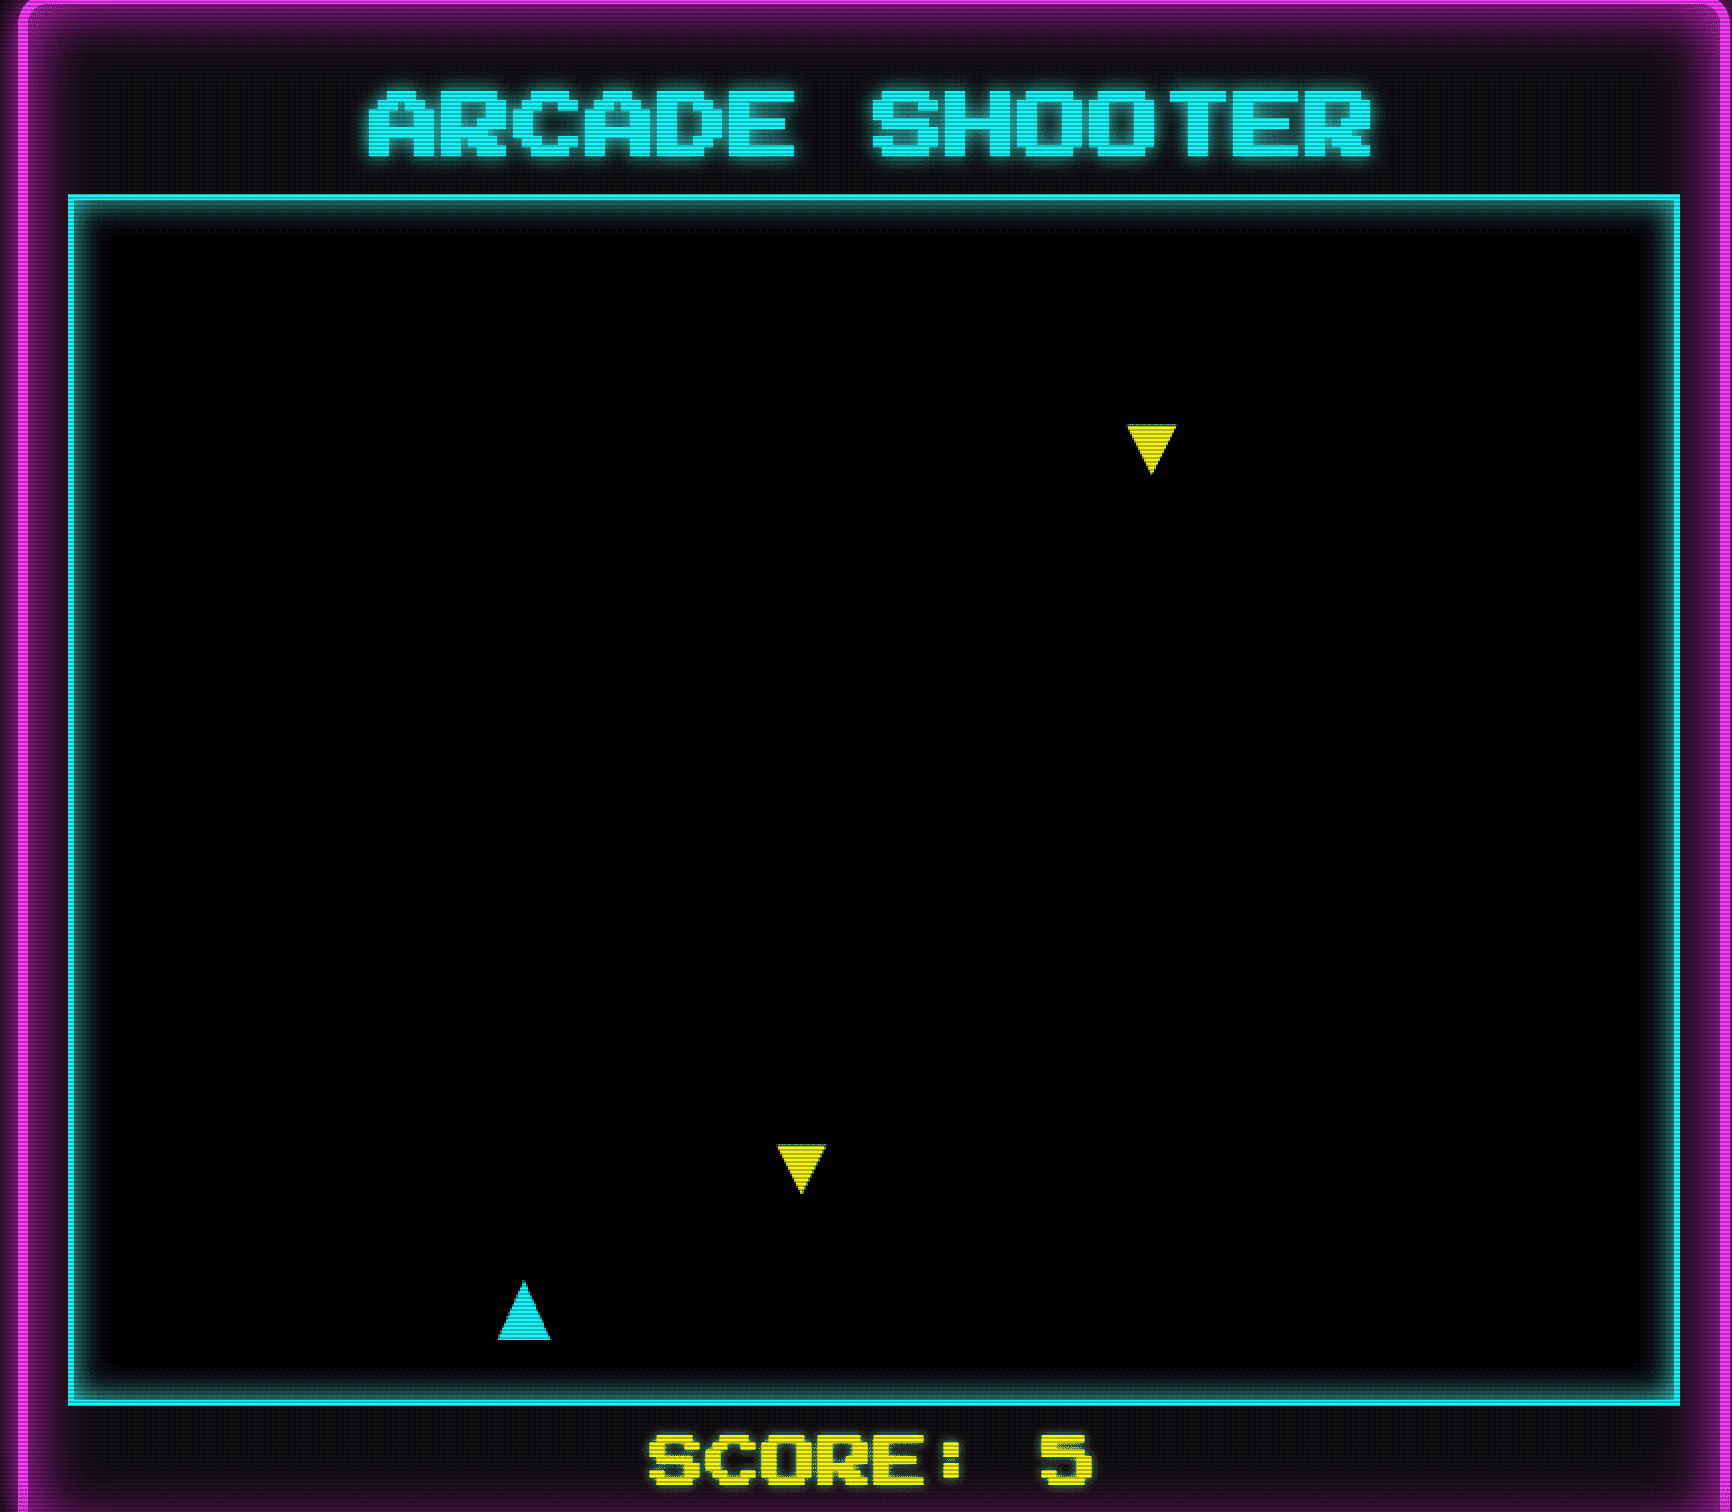
更改風格
如果你覺得畫面太陽春,你他可以請
Gemini CLI幫你優化請將遊戲畫面風格換成2000年街機風格 -
修改過後的結果
以上是 Gemnini CLI 簡易使用範例
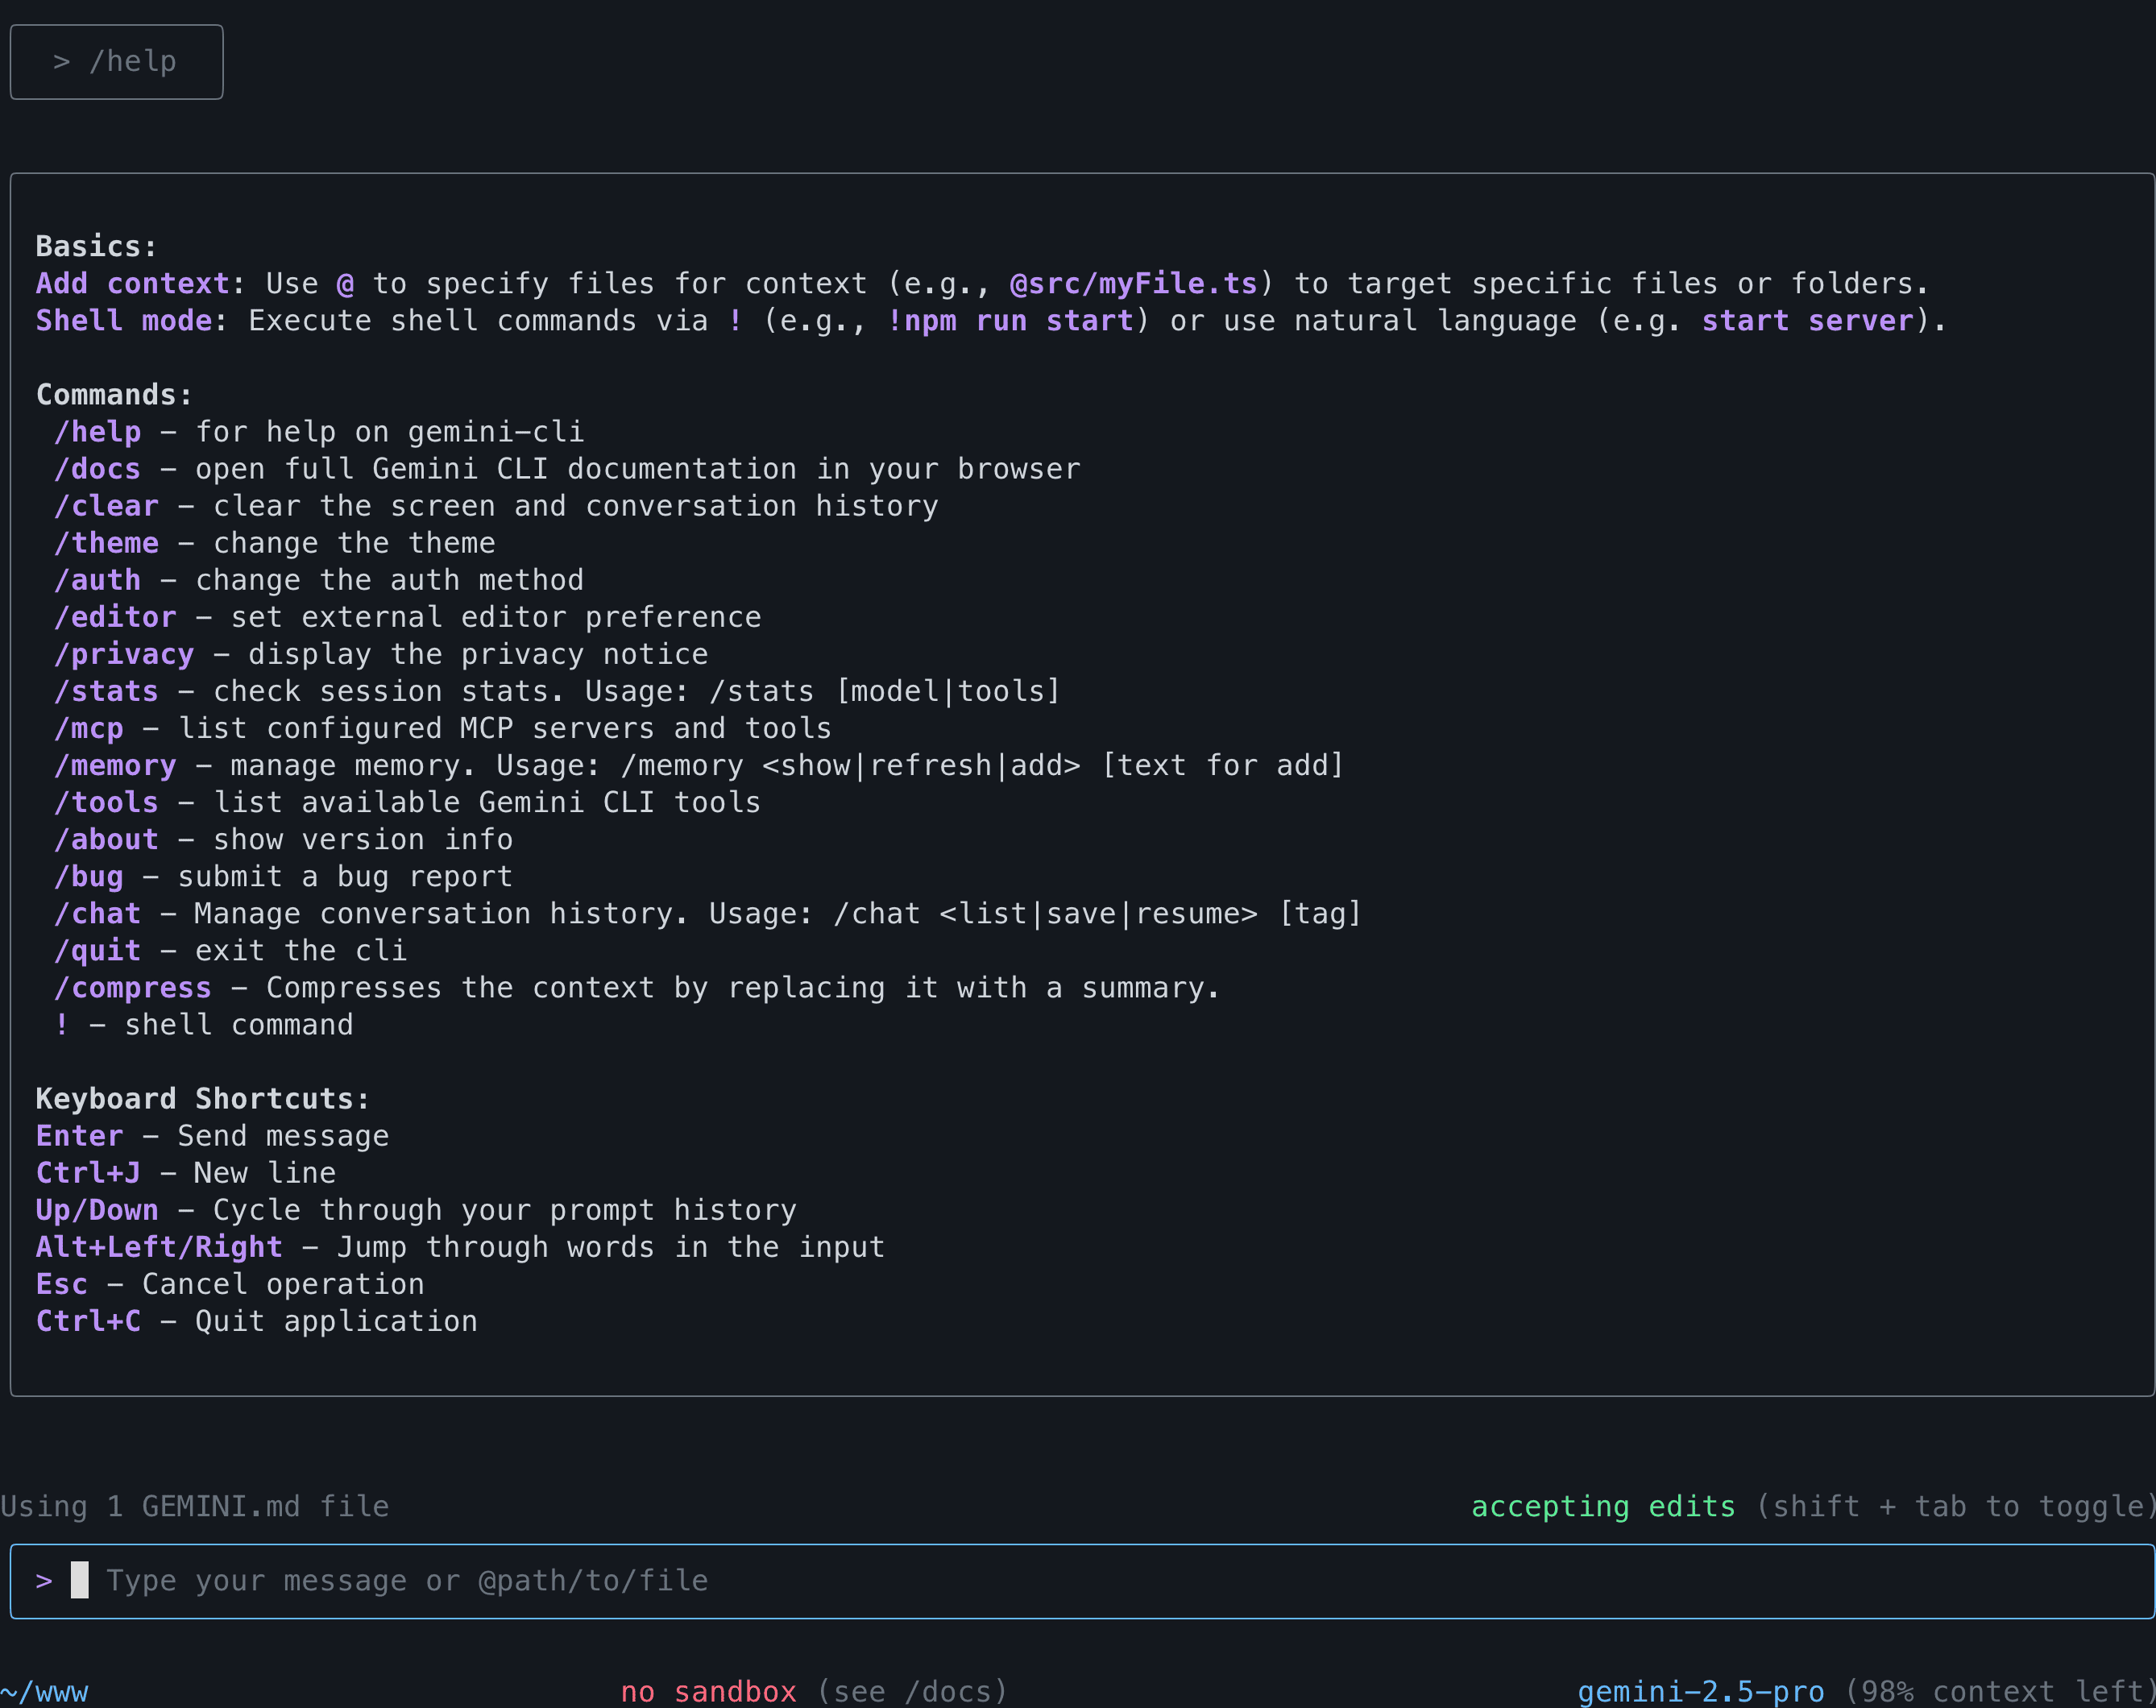
Gemini CLI 的相關指令
Gemnini CLI 內建了一個常用指令,詳細可用 /help 進行指令查詢
記憶功態 (Memory)
若你要處理比較複雜的問題,由於 LLM 對於長文處理,有時會有失憶的問題,或當我們重啟 Gemini CLI,Gemini CLI 忘記之前互動的要求,因此 Gemini CLI 有了記憶功能,而使用方式如下:
-
以
markdown格式,建立GEMINI.md,你可以將之記錄- 環境設定
- 工作需求
- 工作項目
- 使用相關 MCP 指令
- 程式碼風格
當你在某個目錄下啟動
Gemini CLI代理模式時,它會分層搜尋GEMINI.md檔案:從當前工作目錄開始,向上搜尋到專案根目錄,甚至到你的主目錄。它也會搜尋子目錄中的GEMINI.md檔案。所有找到的GEMINI.md檔案的內容會被合併,作為「指令上下文」提供給 Gemini 模型。 -
更新記憶內容
在
Gemini CLI下達指令:/memory refresh -
顯示記憶內容:
在
Gemini CLI下達指令:/memory show
如此 Gemini CLI 在執行專案開發時,更能依據我的需求,完成我們的任務。
結論
Gemini CLI 是一個功能強大且易於使用的工具,它將先進的 AI 能力帶入了開發者最熟悉的終端機環境。透過清晰的提示詞和適當的審核,你可以大幅提升開發效率,加速專案進程。立即安裝 Gemini CLI,體驗用AI開發的魅力吧,而目前提供的免費額度可以完成一些簡單的小專案,若要完成更大的專案,當然就需要考慮付費。
相關網站
- Gemini CLI Github: https://github.com/google-gemini/gemini-cli
- Google 官方部落格資訊: https://blog.google/intl/zh-tw/products/cloud/gemini-cli-your-open-source-ai-agent/